To anti-climatically summarise this post, there is no right set up! What you are carrying, ease of packing, and your budget will influence your choice of setup. This is just a few setups I have cycled through over the years.
Panniers
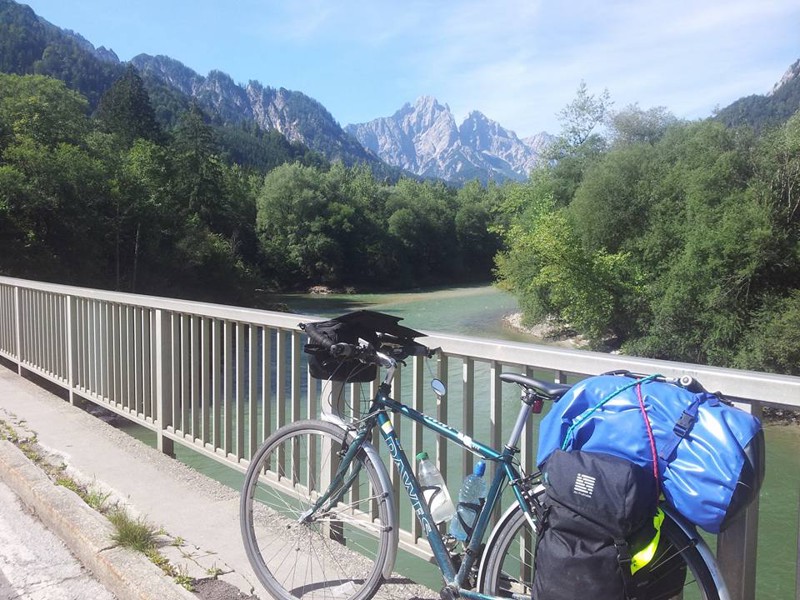
Although often criticised by the bikepacking scene, panniers are usually the cheapest, quickest and easiest way to stuff all your gear in and set off on an adventure. They are also usually the best option for shorter people due to a lack of seatpost to tyre clearance for modern-style seatpacks. The convenience of panniers is sometimes countered by the bulkiness, being less aerodynamic, and can hit your legs while pushing up chossy off-road trails.
Seat Pack
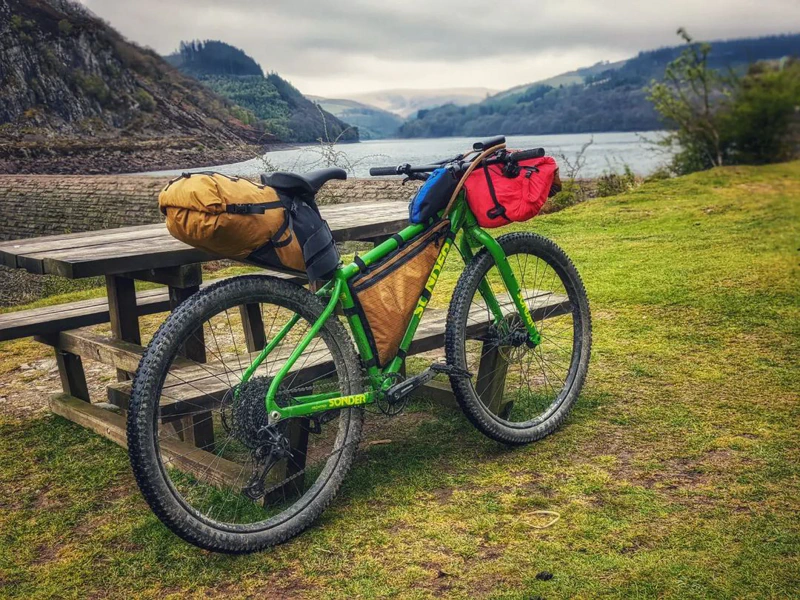
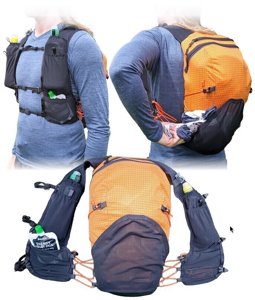
Modern setups use seatpacks, frame bags and handlebar rolls. These are slim, aerodynamic and lightweight, but you have to have your gear dialed in well to get everything into the lower capacity they offer. Many people don’t photograph the backpack they are also wearing to actually make this setup viable!
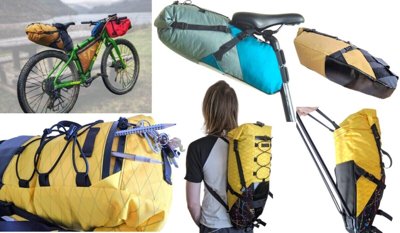
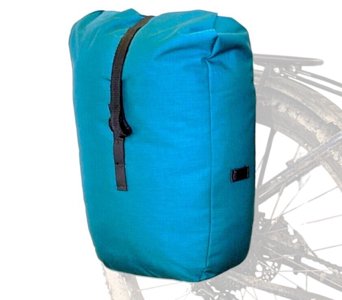
17 Litre Bikepacking Seat Pack Sewing Guide
View PatternSaddle Bags
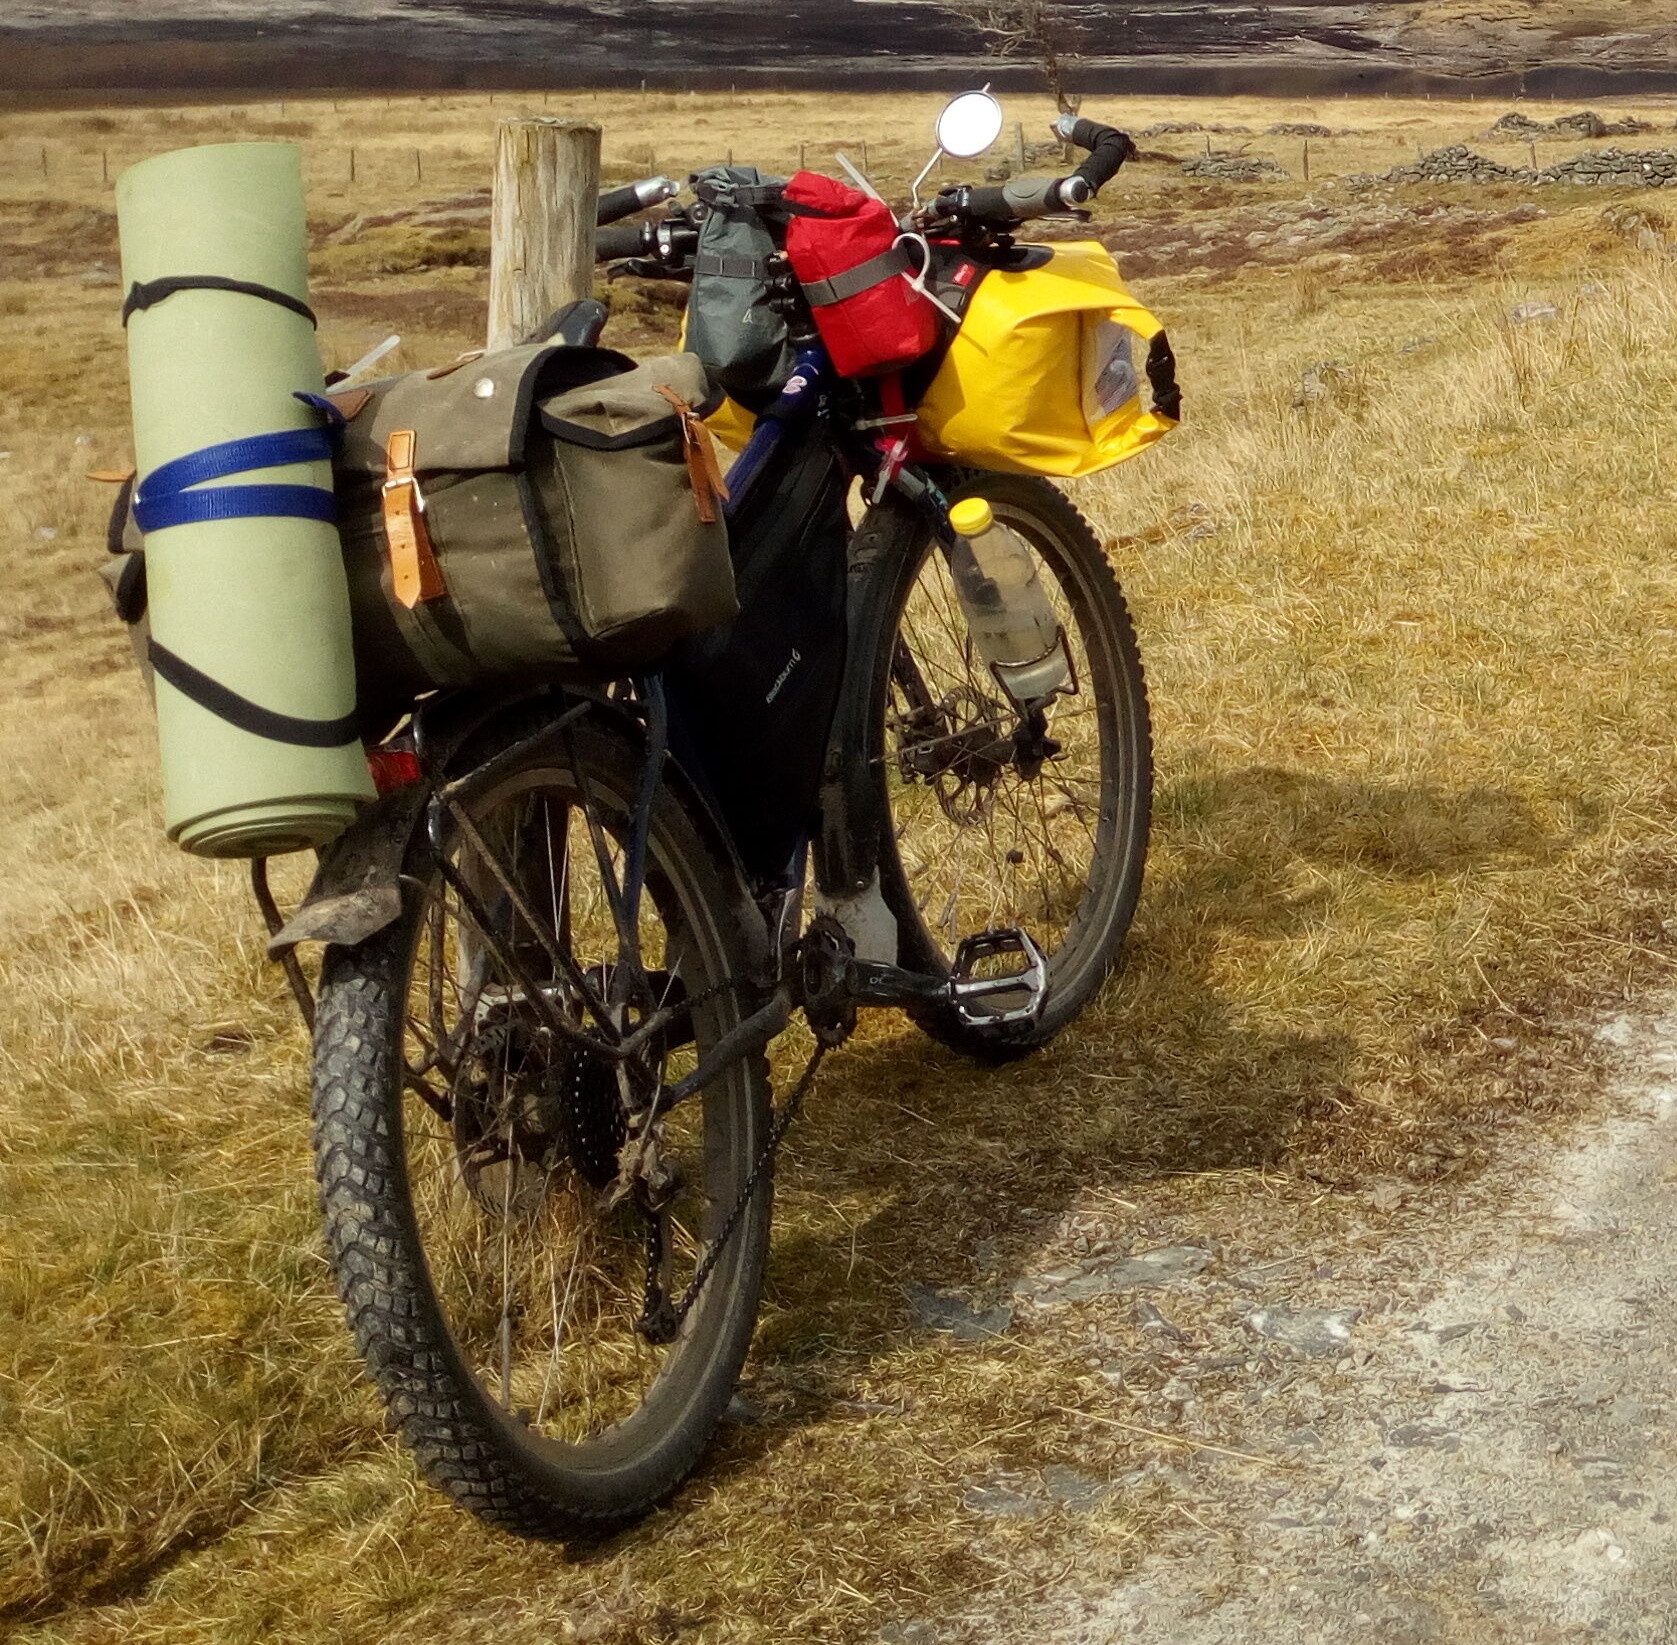
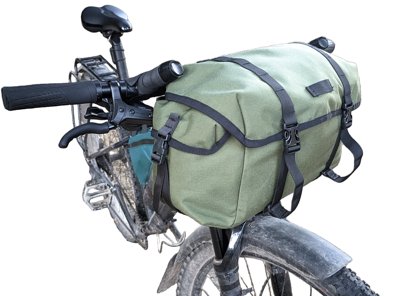
A setup with a historical touch. Traditional canvas saddlebags have similar capacities to some panniers but are mounted under the saddle, on handlebars, or on a rack. The large opening makes accessing the contents extremely easy. They often have gear loops on the lid for strapping extra items on top.
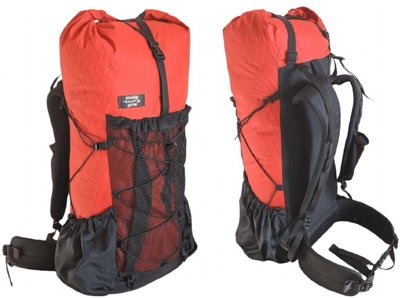
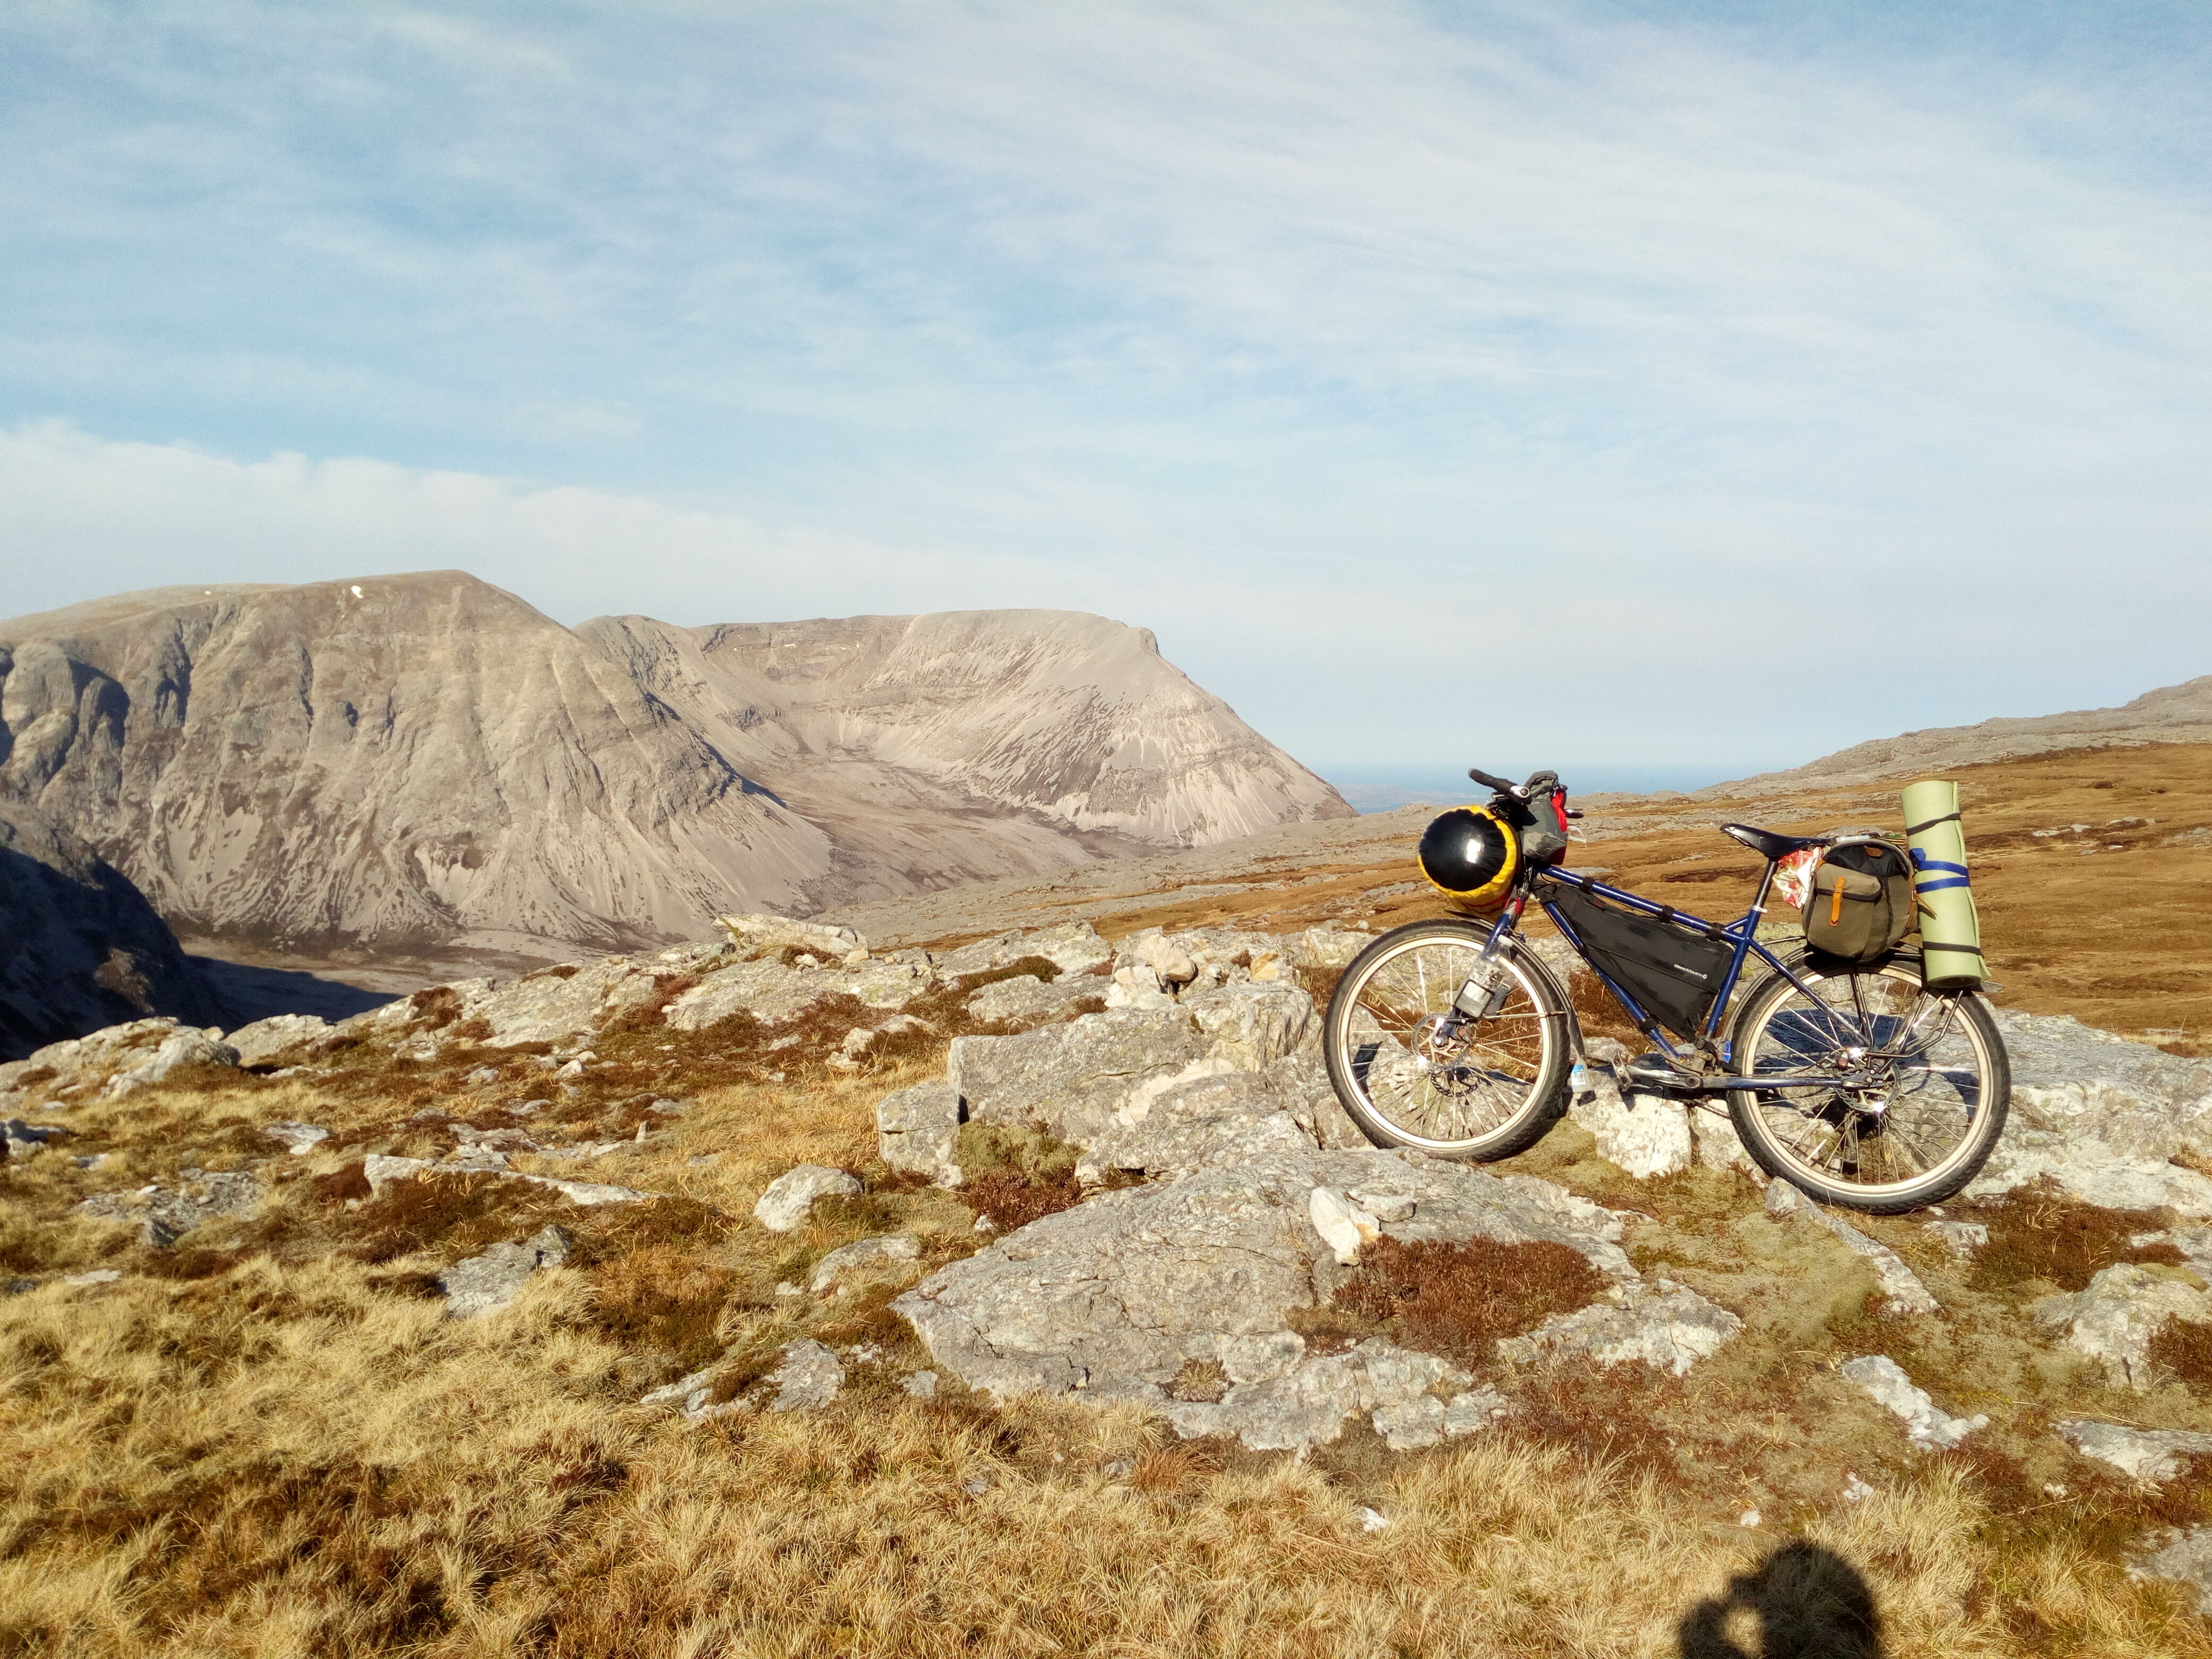
Backpack on a Rack
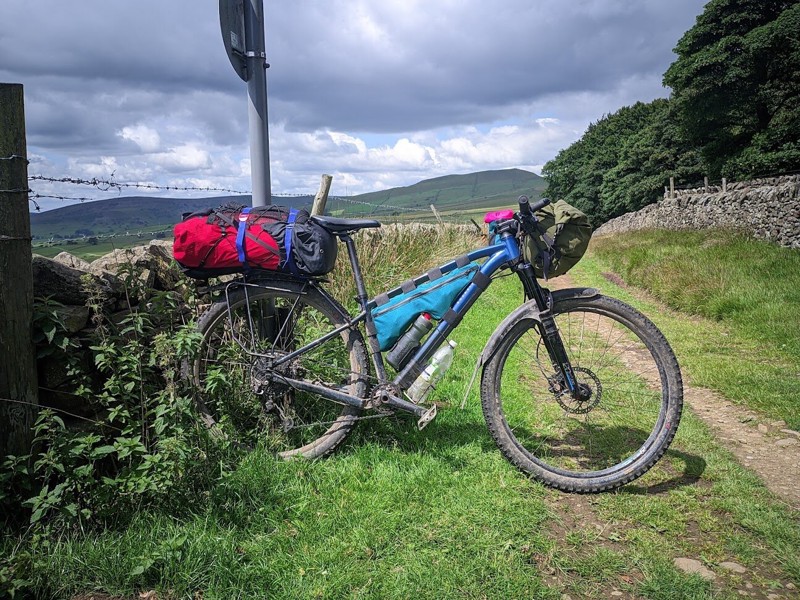
The setup I’ve currently settled on: Handlebar bag, frame bag and a backpack on a rack. A backpack on the rear rack gives huge potential capacity if need to carry an extended amount of food, or simply are using affordable, but bulkier, gear. Wrap your tie down straps twice around the rack rails and the backpack will remain rigid in place, no matter how rough the terrain.
Is this the best setup? Probably not, but works for me, and maybe yourself also.