


Pattern Making Tools
NEW: Check out this Inkscape extension to help make your own sewing patterns. It's especially handy for frame bags!
Inkscape Unroll/Flatten Extension on GitHub
Or, you can draw and generate patterns online with the
Online Automatic Pattern Generator
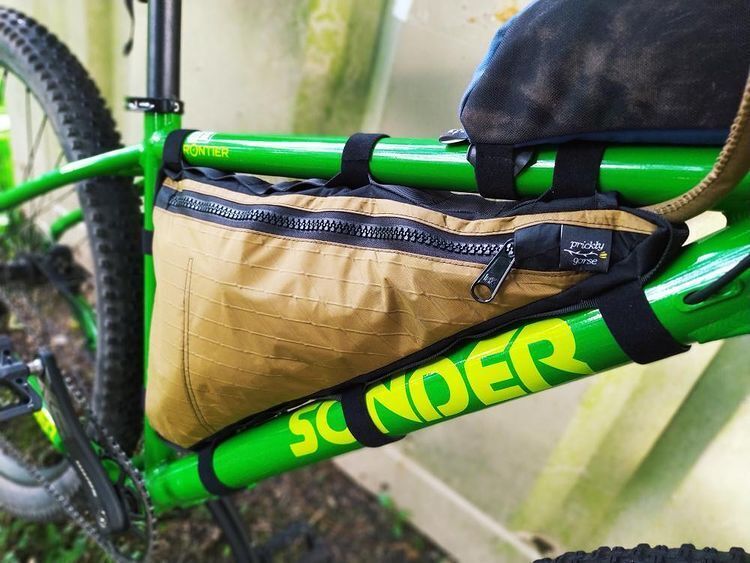
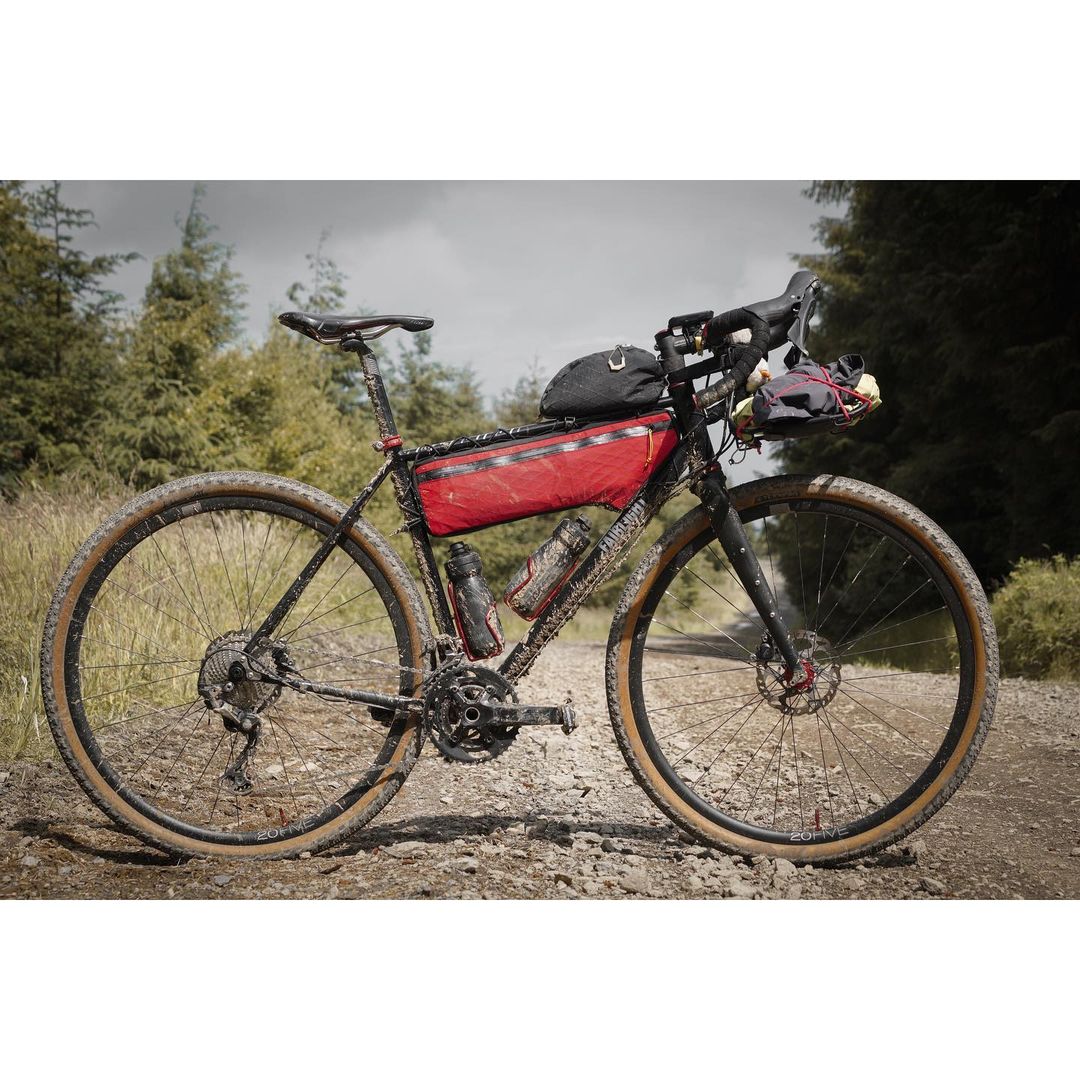
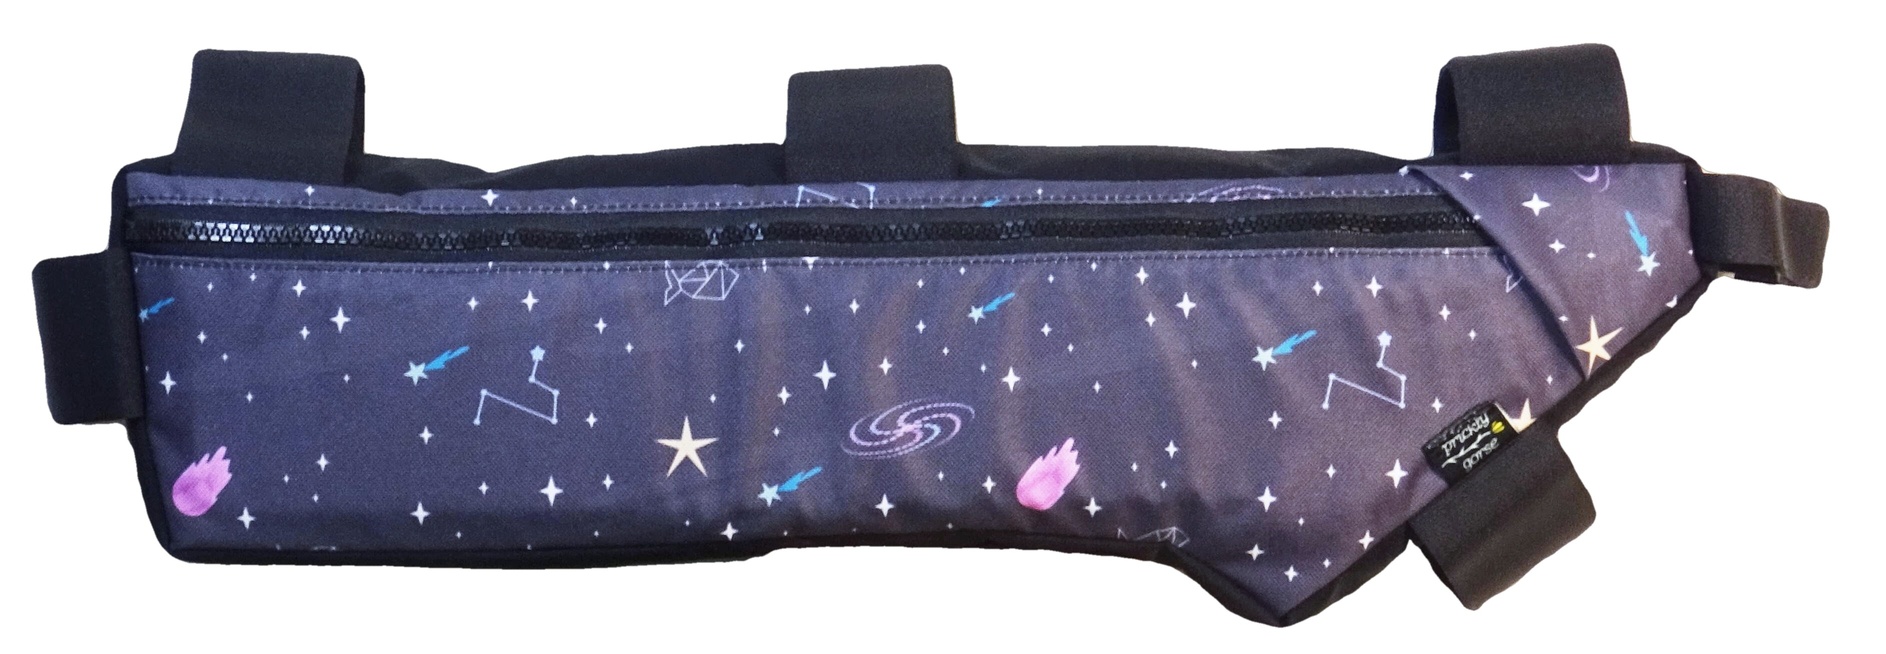
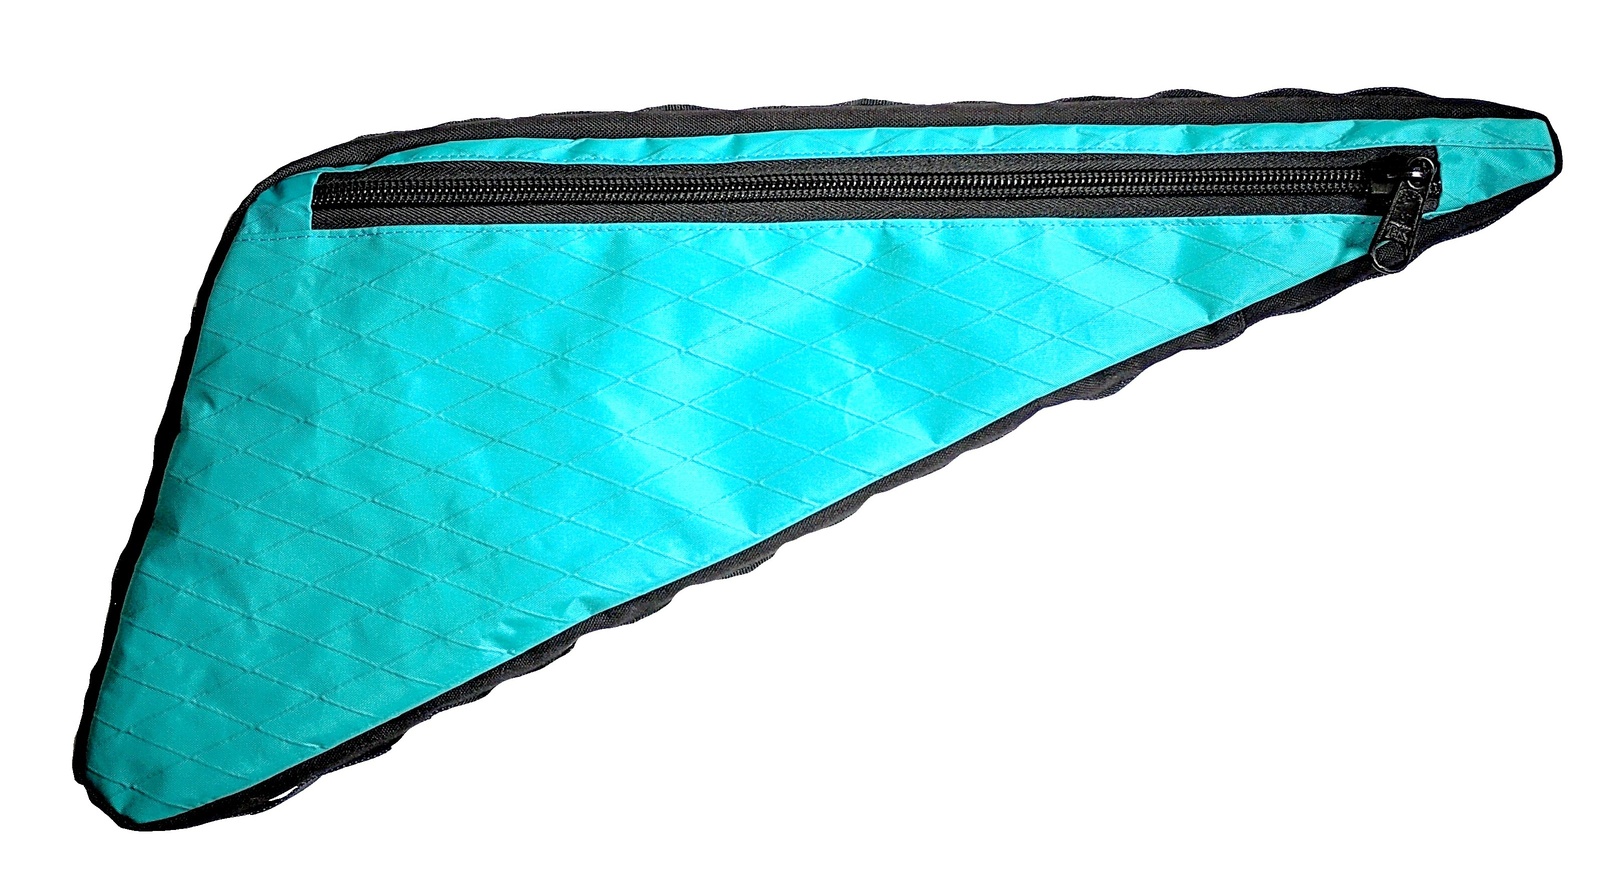
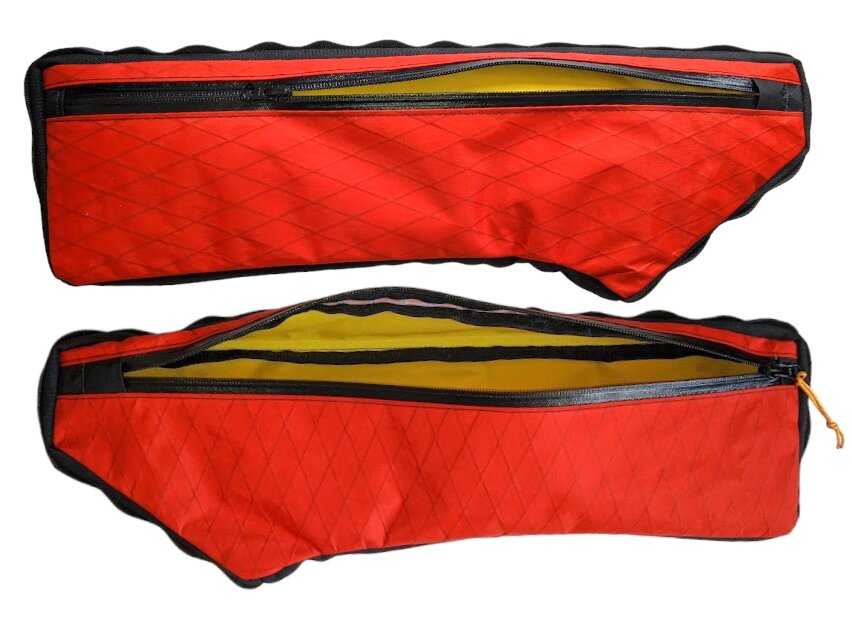
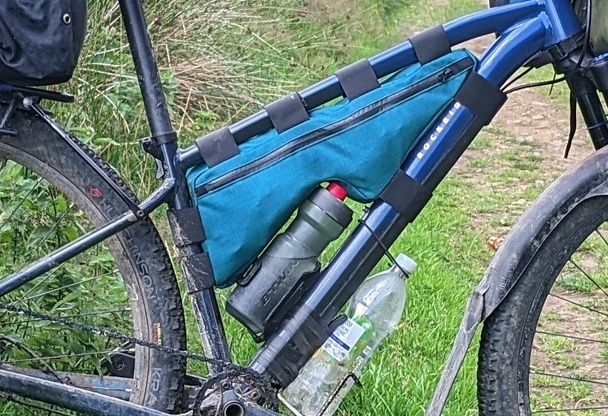
This is a rough guide to sewing your own simple custom sized zippered frame bag. It is an ideal project for your bikepacking adventures, and a super versatile bag to keep on your bike all year round. This guide is a template to build upon yourself if you want to add more features such as dividers, double decker zips etc.
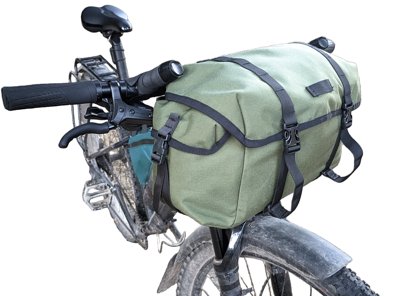
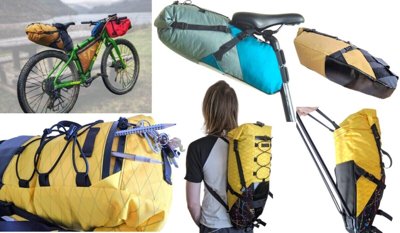
After making a your own custom frame bag, why not see my current bikepacking range of sewing guides here, featuring seat packs and stem feed bags.
Materials & Hardware (Notions)
Fabrics: Any durable outdoor fabric will work.
- XPAC VX21 or Ecopak are the tried-and-tested standards that most custom bag companies use.
- 500D Cordura, 210D Robic Ripstop, or even cotton canvas or an old pair of jeans can be used.
- A more abrasion-resistant fabric like 500D-1000D Cordura is recommended for the middle “gusset” panel that faces the bike tubes.
- See the MYOG Suppliers page for high-quality fabric sources and the Fabrics 101 page for more info.
Zippers:
- Use a #8 or #10 size zipper for a full frame bag.
- A #5 zipper is suitable for half-frame or smaller bags.
- Moulded tooth zippers are the most mud-resistant.
- Buy from reputable sellers. You don’t want your zip to fail when miles from home to save a tiny bit of money.
- See my Zippers 101 article for more information.
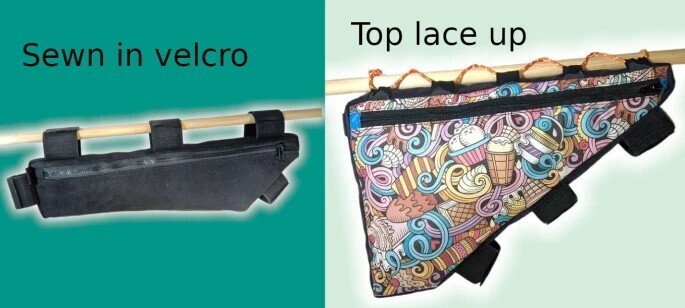
Attachment Methods:
- See text below for suggestions
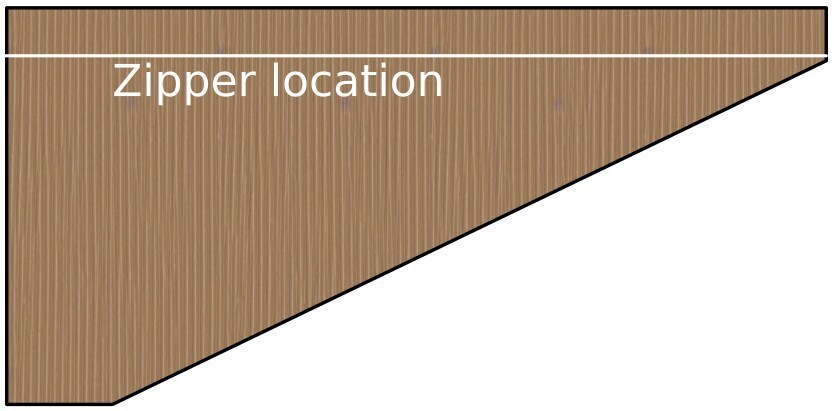
Step 1: Create the Template
Make a template of the shape you want out of cardboard. Test to ensure it fits perfectly in your bike frame.
- When making full-sized frame bags, a squared-off bottom helps stop small objects from getting lost in a deep, tight corner.
- If your frame allows, a squared or rounded-off nose means you don’t have to sew around a super tight corner later.
- Mark any useful reference points, like bottle cage bolts, as you’ll need to avoid these when deciding on strap placement.
Step 2: Measure the Template
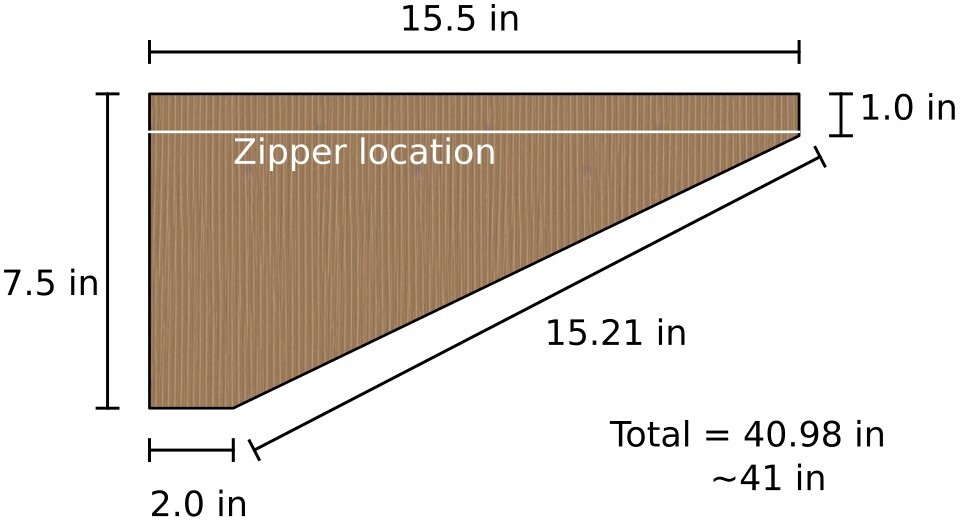
Step 3: Add Seam Allowance
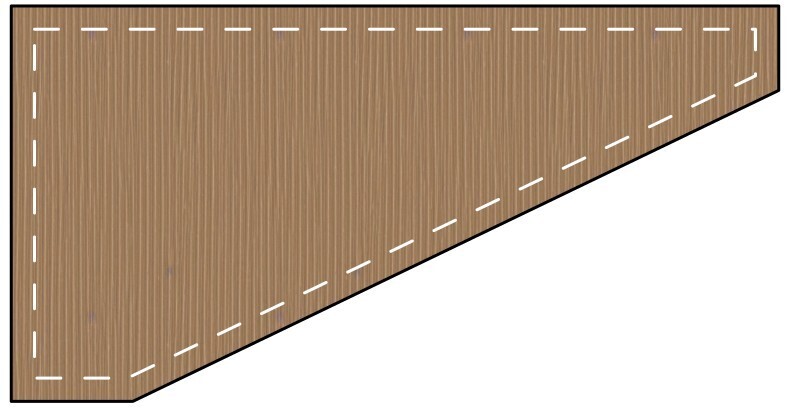
Accurately trace this template onto a new piece of card. Add your chosen seam allowance to this new template (I recommend ½ inch) and then cut it out. This will be your cutting template.
Snip small notches in the seam allowance at the corner points of the original seam line, taking care not to snip the corners off. These will be for transferring alignment marks to the fabric later.

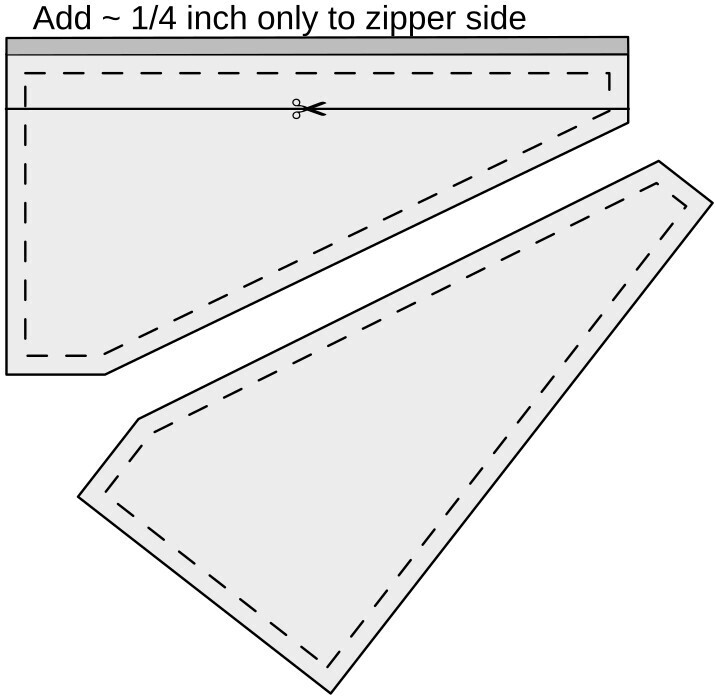
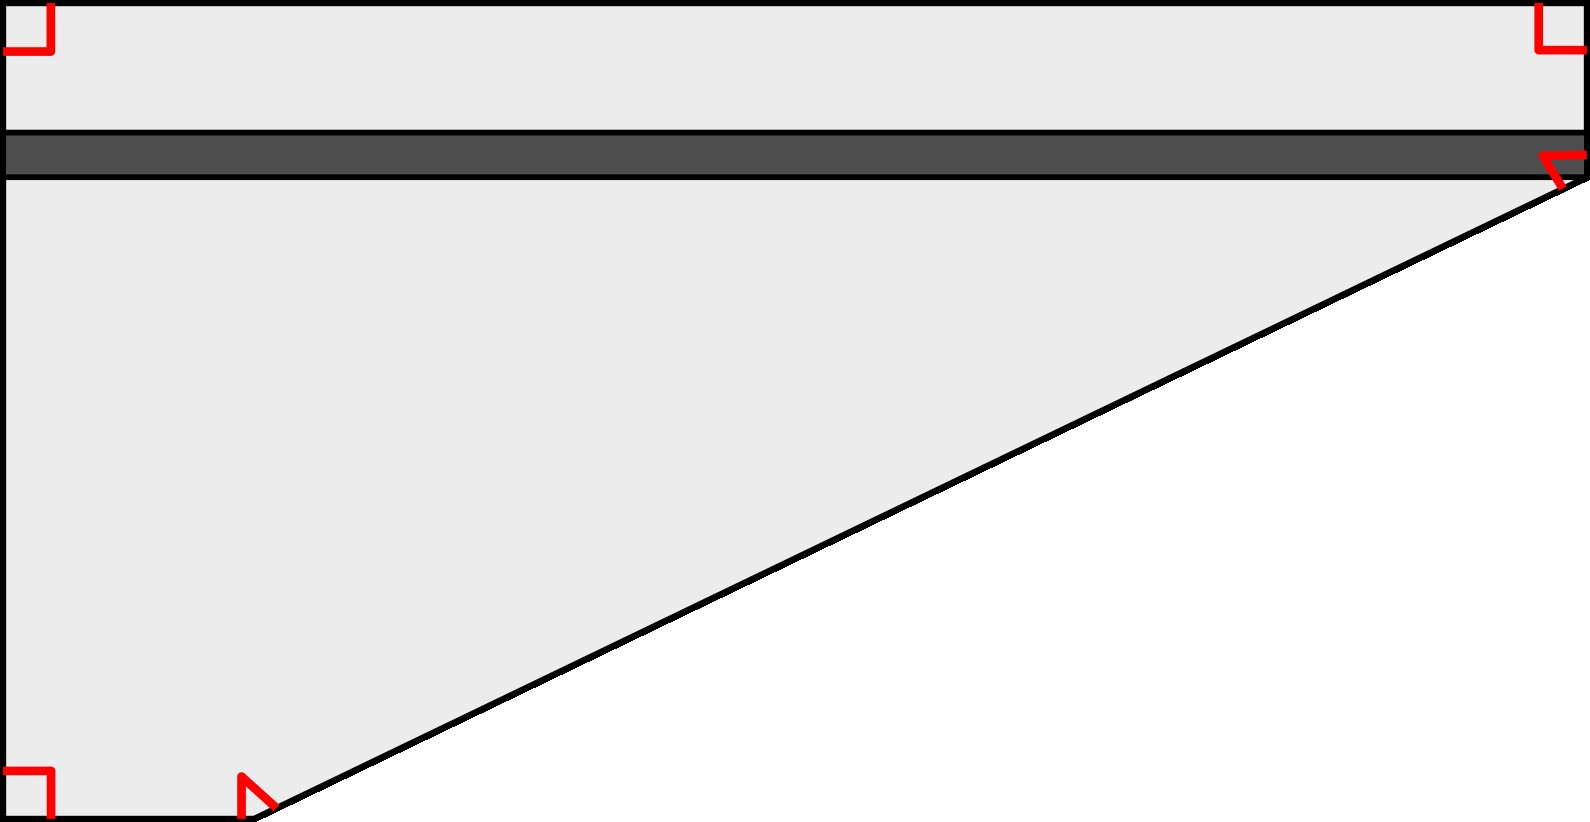
Step 4: Cut the Side Panels
Use your larger (with seam allowance) template to mark and cut the fabric for the two side panels. Remember to flip the template over for the second panel to create a mirrored copy. Although shown on the image, you don’t need to draw on the seam allowance.
On the side you are adding a zip, add roughly ¼ inch of extra fabric to the top edge. This gives you some leeway to trim later if the panel size changes after installing the zipper.
Step 5: Install the Zipper
Design Tips to Consider
It is good practice to stop the zip before the seam allowance, and to sew an extension strip either side of the zip which will be sewn into the sides of the bag. This is more flexible than the zip, and helps the bag hold a better shape. If doing this, make sure to add a zipper slider before sewing both ends closed, ensuring it closes towards the front forks of the bike!
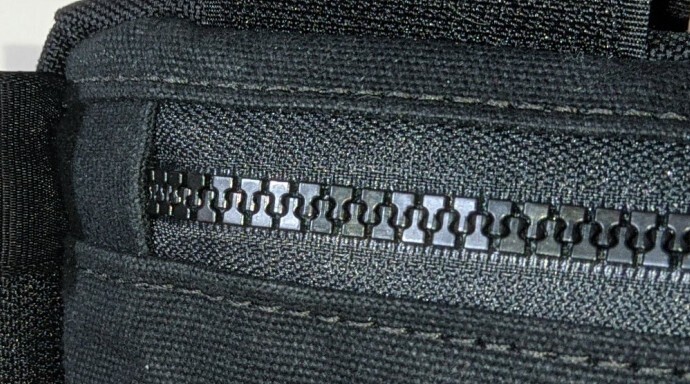
Zipper garages are a simple addition that gives a professional touch. They are simply a piece of fabric that covers the end of the zip that never quite closes when zipped up. This helps maximise water resistance.
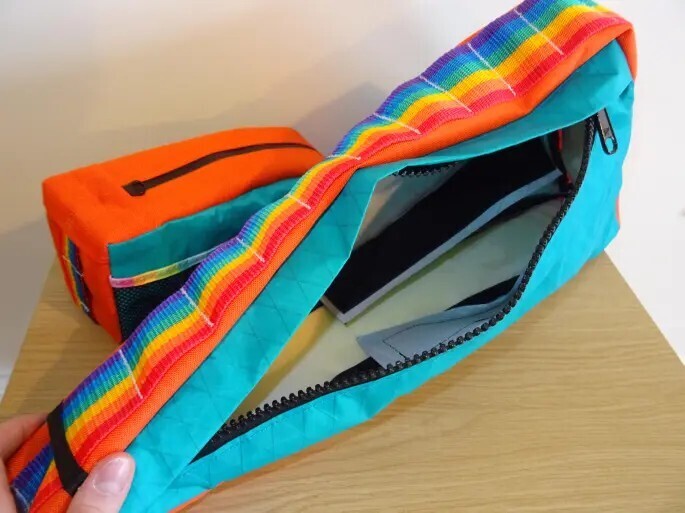
Sewing The Zip
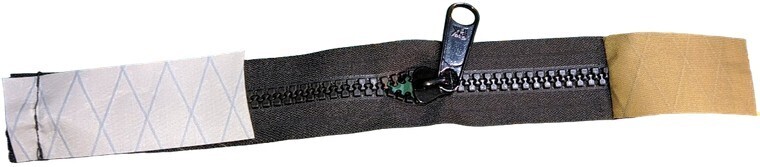
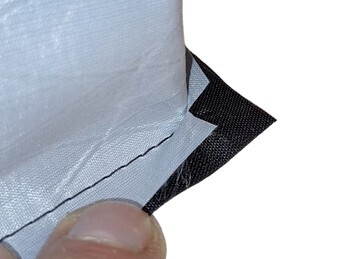
Snip the zipper-side panel into two pieces where you want the zipper to be.
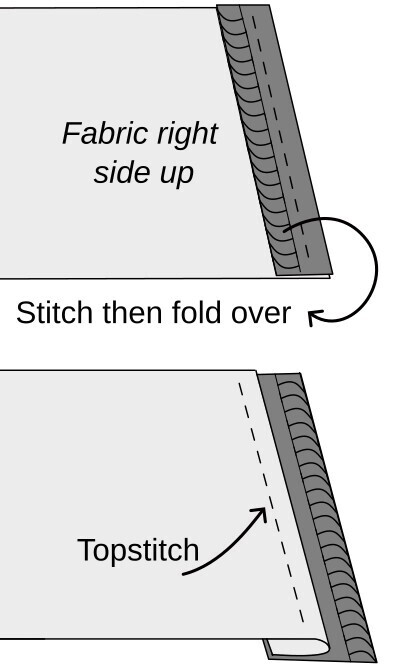
Sew half of the zipper, face down, to each piece of the zipper-side panel. Then, fold the fabric back on itself and topstitch for a clean finish.
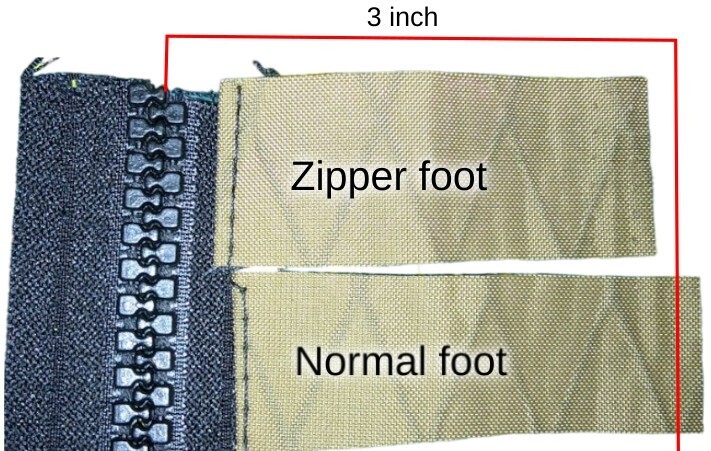
Note: Depending on how close you sew to the zipper teeth, your panel may have changed size. This is why we added extra fabric in the previous step. In the example photo where I’ve used a zipper foot and a normal foot, you can see the effect on the final panel width.
Ideally to maintain panel width you sew in the middle of the half of the zipper side you are working on, so when it is folded over the exposed zip matches the folded behind seam allowance.
But there is a chance you may not be super accurate when sewing, and trimming off some excess fabric is far easier than seam ripping! Adding extra fabric and trimming is also easier than working out the seam allowance you require for different zip widths and sewing machine presser feet.

Step 6: Finalise Panels and Mark Alignment
Install the zipper slider onto the zipper tape if you haven’t, ensuring it closes towards the front (handlebars) of the bag.
Now, overlay your cutting template onto the finished zipper panel. If the panel is now too large, trim it down to match the template. This is why we added a small amount of extra fabric earlier.
At all the corners in your seam line on your pattern, make markings in the seam allowance of the fabric to use as alignment marks, using the notches made into the cardboard template for positioning.
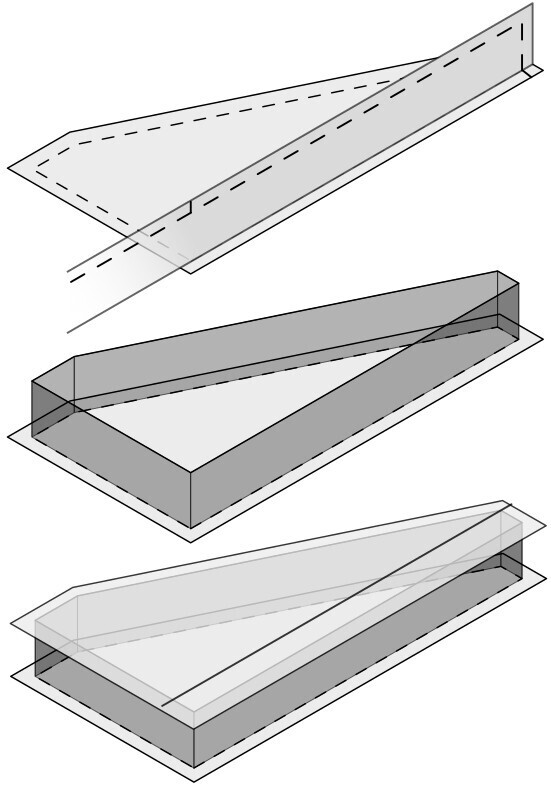
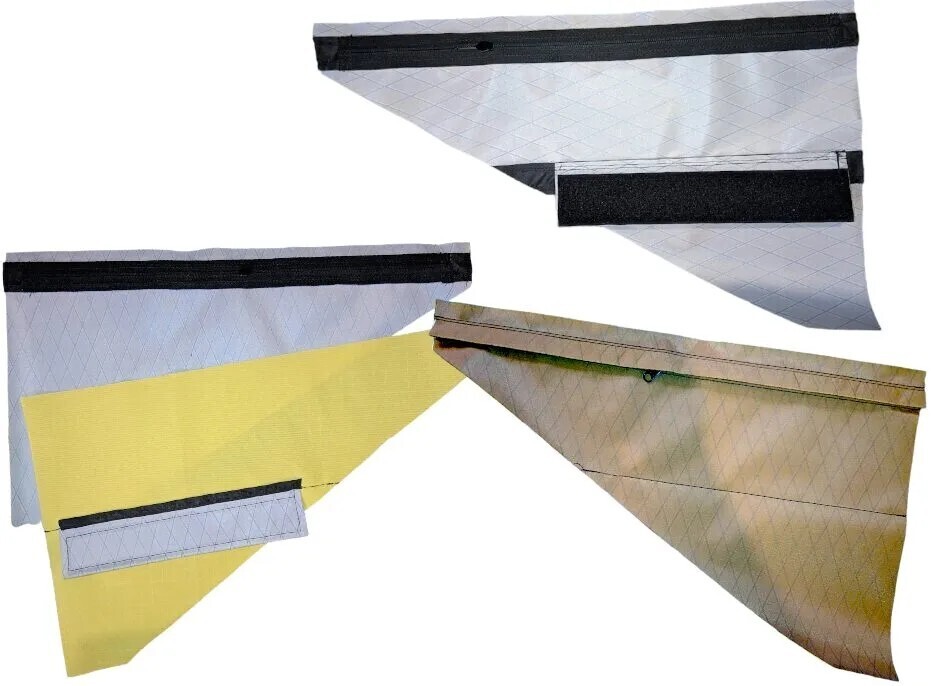
Step 7: Create the Gusset (Middle Strip)
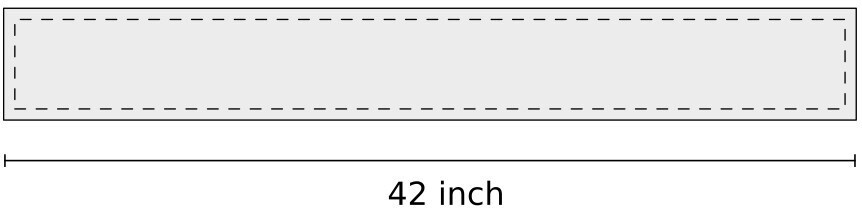
First, decide on your bag width (4cm to 8cm is a good range). Your gusset fabric width will be: (Desired Bag Width) + (2 x Seam Allowance).
The length of your fabric strip is the sum of all the side lengths, plus double your seam allowance. This length may end up being longer than the length of your fabric, so you will need to split this into smaller lengths. Remember each strip needs seam allowance adding before sewing together into a longer strip
Mark each individual side panel length onto your fabric strip’s seam allowance, top and bottom. These marks will line up with the side panel marks when assembling the bag. Think about where you want to start sewing around the bag from before adding the marks.


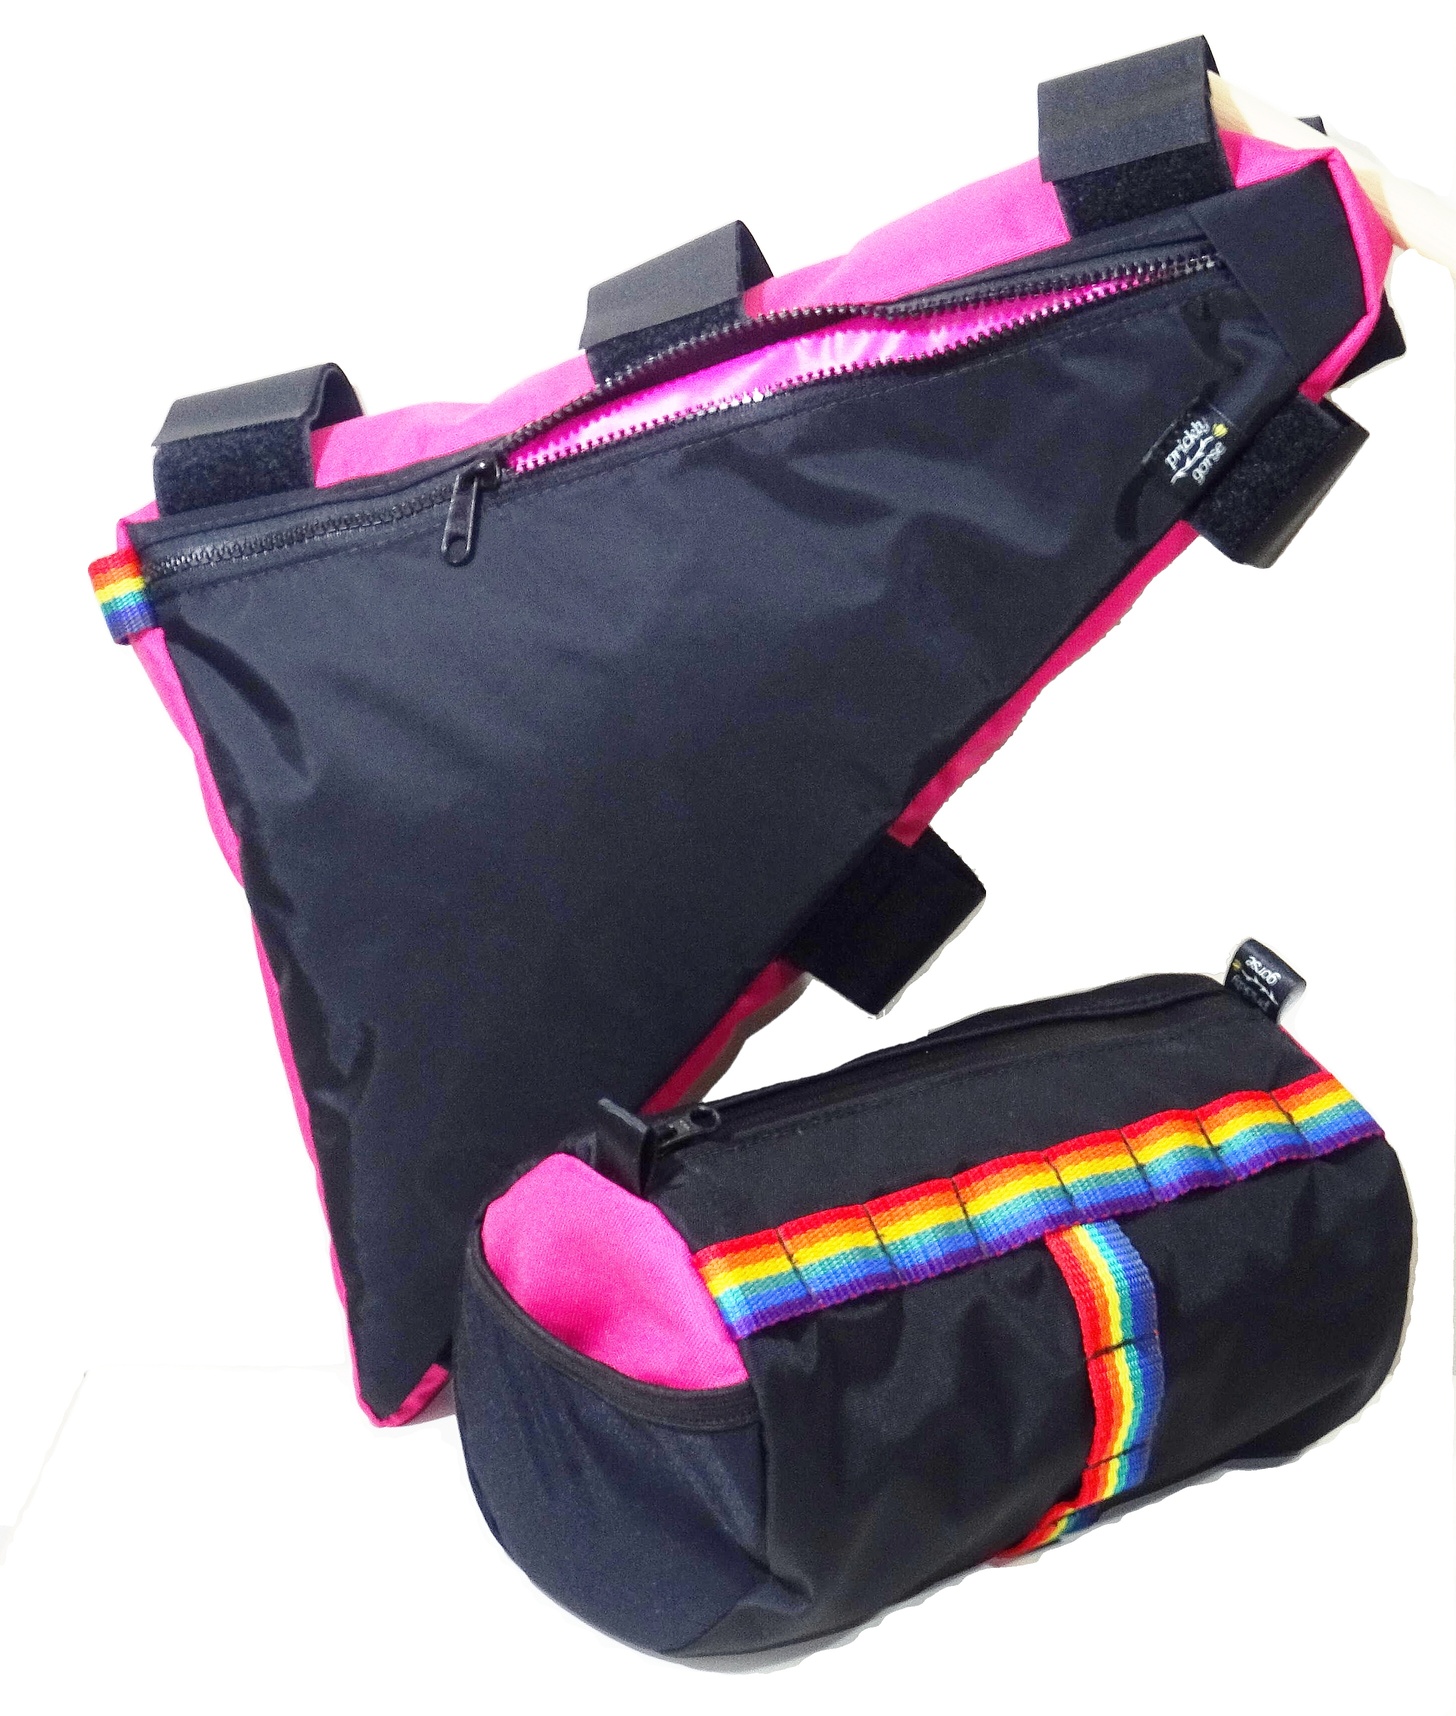
Step 8: Add Attachments
Now decide how you want to attach the bag to your bike.
The main ways are a webbing ladder with double sided velcro loops threaded through, or sewn-in velcro at defined places, and/or little loops for threading cord through and lacing the bag to the bike. It is up to you to decide which method you prefer.
Webbing ladders allow flexibility with velcro placement but are time consuming to make. Sewn in velcro and loops are the lightest weight options.
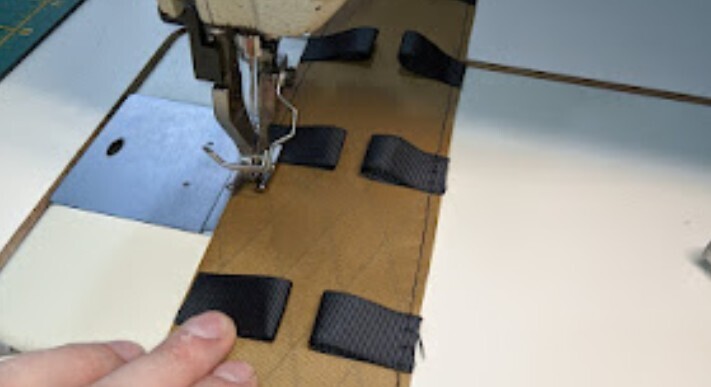
Add your preferred attachment method to the middle strip. If making a webbing ladder, 2 inch (50mm) webbing works well if your bag width is 6cm or more. Add regular bartack stitches about 1.5 inch (38mm) apart, depending on how well they can be spaced along the length. If sewing loops/velcro, basting stitch them to the middle panel. A basting stitch is a quick stitch usually within the seam allowance to hold stuff in place before sewing the main seams.
Note: Put the attachment points on the correct edges to match the side panels! Use the markings on the gusset to navigate.
An attachment point should be made adjacent to the zip so when the zip is pulled it closes instead of pulling the bag.
Step 9: Assemble the Bag
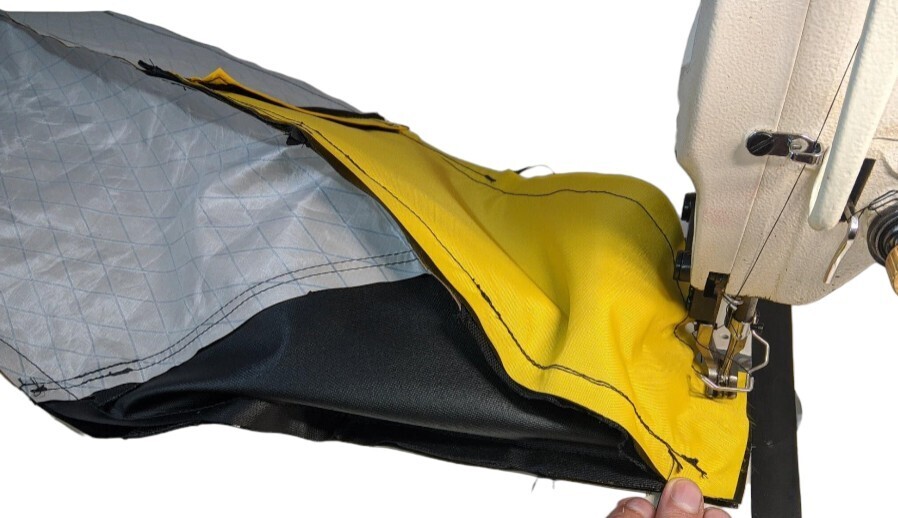
Sew the middle gusset strip to your side panels. I recommend sewing to the non-zipper side panel first, as this is the easiest to replace if you somehow make a mistake with your middle strip lengths.
Some people prefer to sew the gusset closed into a loop, then sew this to the side panel. In the images I have kept the strip open, and closed it as a final seam.
Align the marks on your gusset with the markings on your side panel’s seam allowance, and sew with your chosen seam allowance (e.g. 1/2 inch). When you get to a corner, stop with the needle down, lift the presser foot, pivot the fabric, and continue sewing. You can make small “relief cuts” into the gusset’s seam allowance to help it bend around tight corners.
If you are looking like you’ll end up a little off your alignment marks you can push/pull the required top or bottom fabric layer a little bit to slightly uneven feed the fabrics. Be subtle with this or you’ll pucker your work. If you are very misaligned, it is probably better to seam rip and reassess your alignment marks.
Once both side panels are attached, sew the final seam to close the gusset strip.
Step 10: Finishing
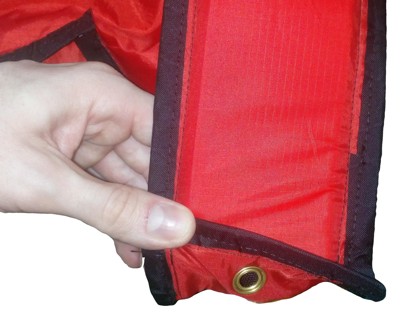
Optionally, bind the internal raw seams with grosgrain ribbon for a professional finish and increased durability (resistance to fabric fraying).
Open the zipper, turn the bag right-side out, and admire your work!
Next Steps & Further Ideas
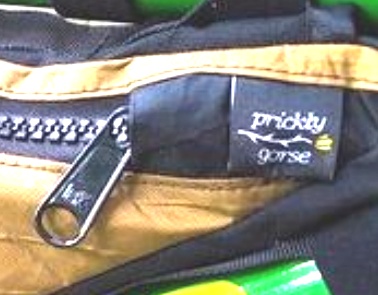
If this guide helped you, share your creation on Instagram (@pricklygorse), on Reddit at r/MYOG or contact me
This is a basic frame bag. For your next build, experiment with:
- Add a liner fabric to the inside.
- Add a liner to the middle panel so you can insert a stiffener.
- Binding the internal seams for a professional finish
- Internal pockets.
- Hydration ports
- Storm flaps over the zipper
- Zipper garage so the tiny bit of zipper that remains open when zipped closed gets less water in it
- Internal dividers that can be separated
- Double decker two zip frame bag
- Roll top frame bags
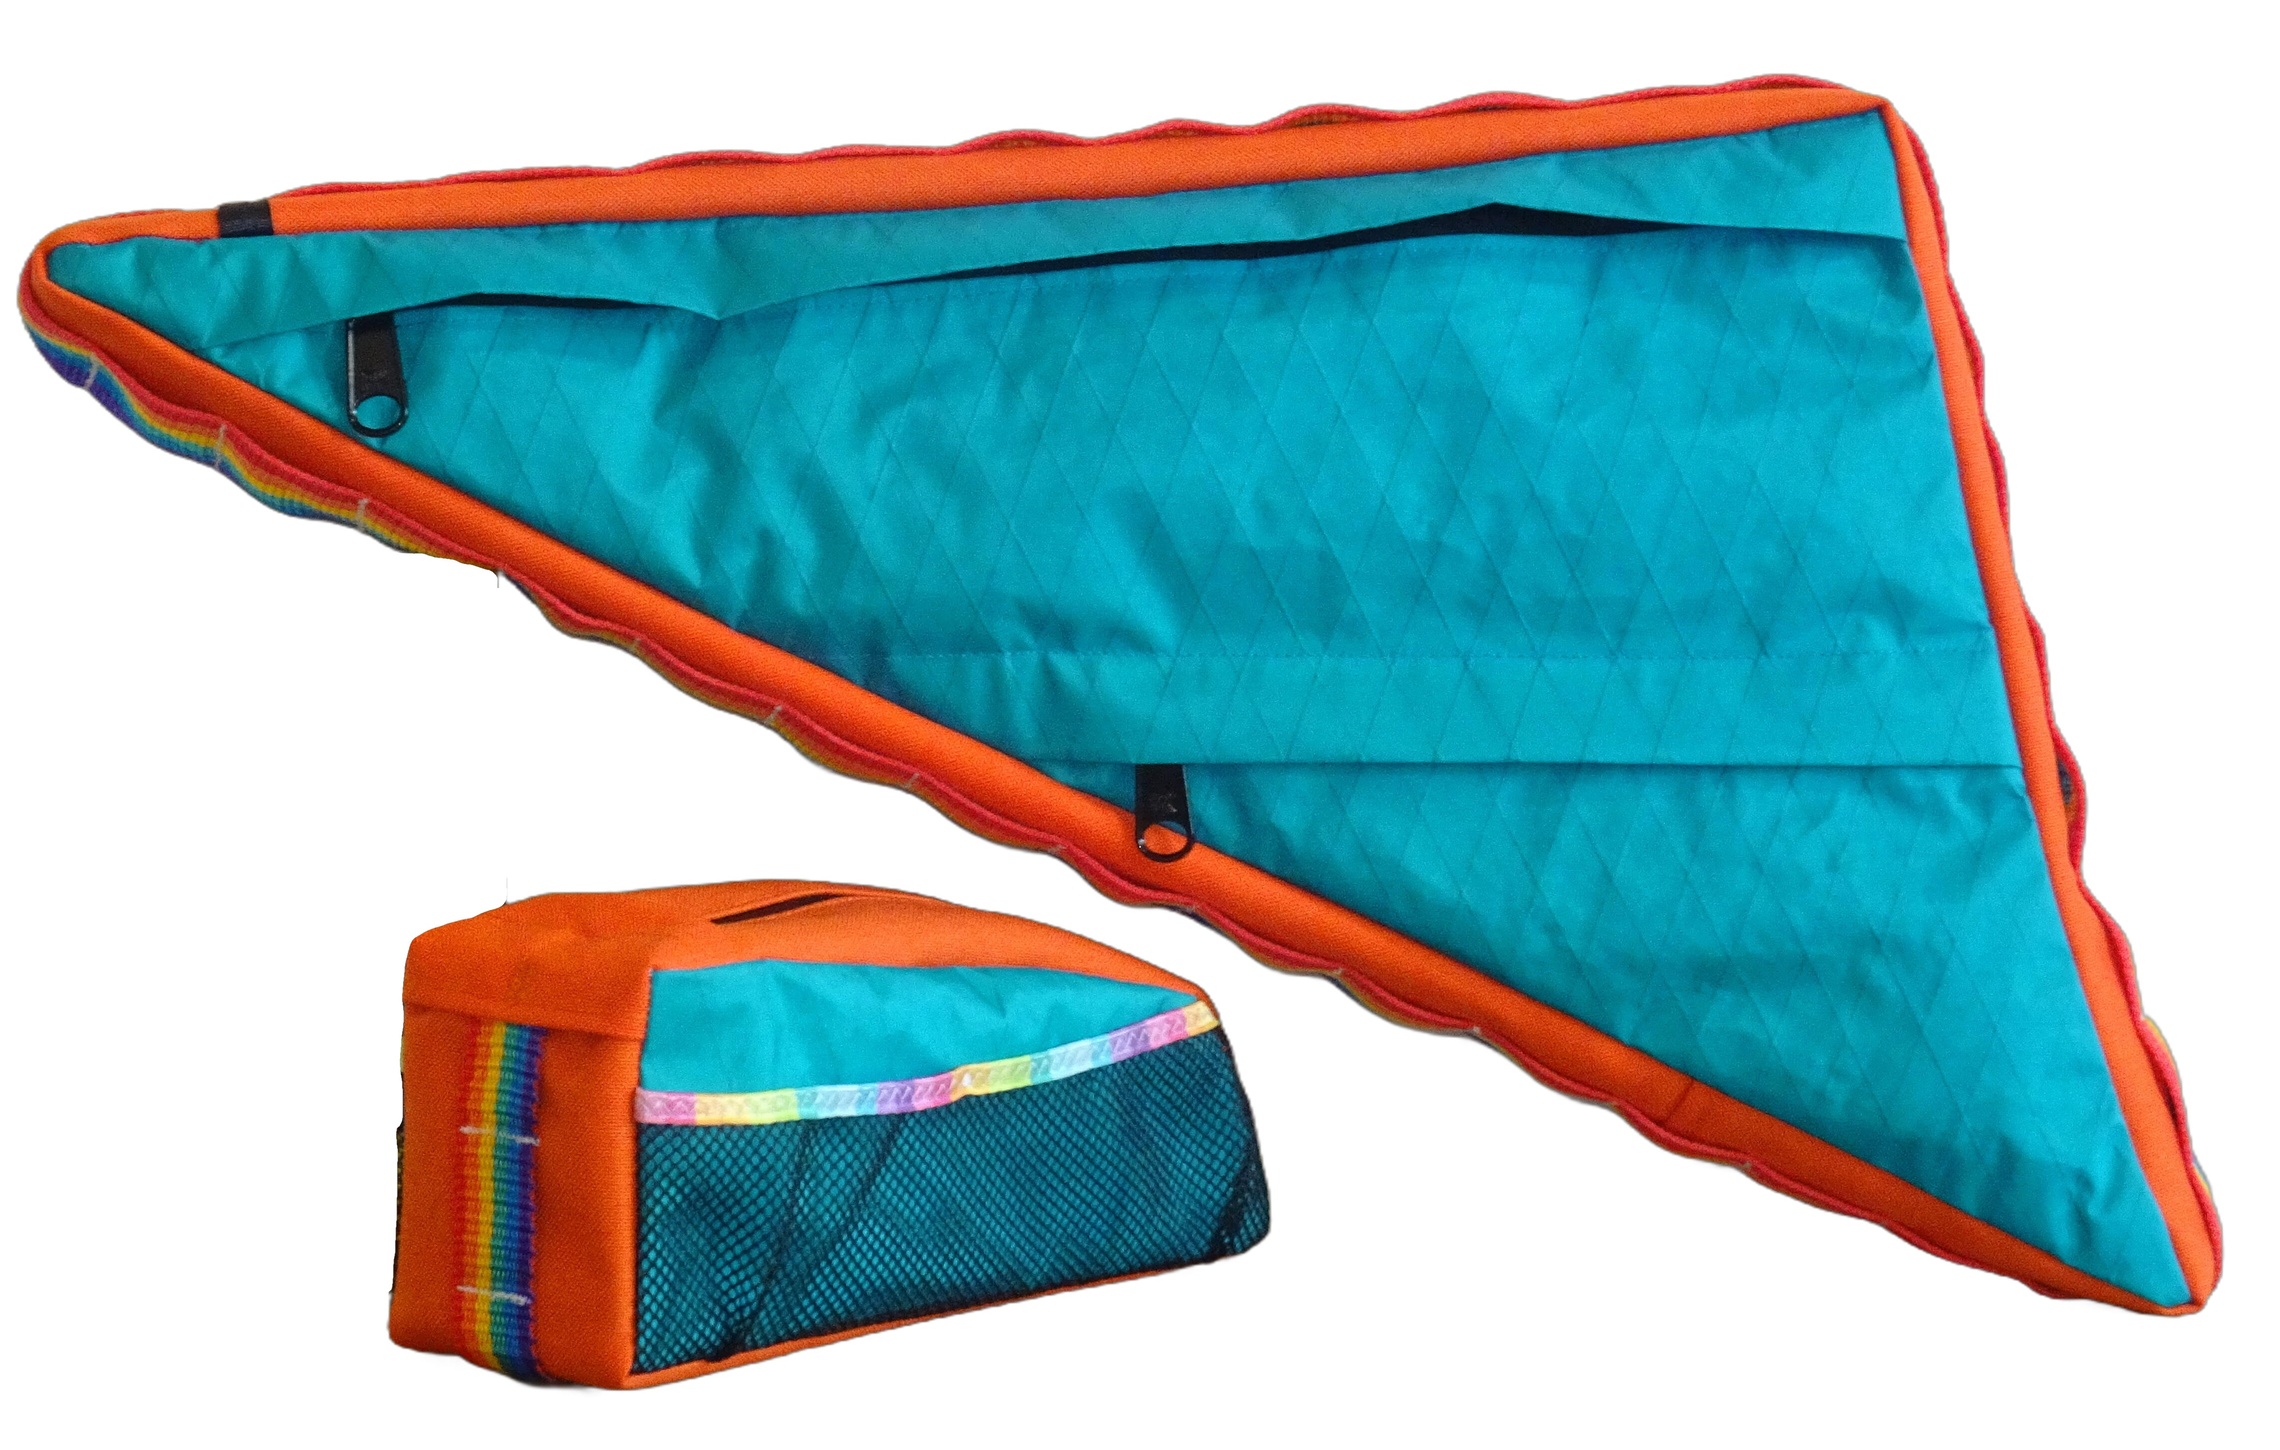
Double-Decker Example Inside
A look inside a double-decker frame bag with rain flaps and a thin non-drive side ‘map’ pocket. The internal divider can be moved out of the way to use the bag in a single-compartment mode.
The map pocket side is two long stitches, first stitch through the liner fabric and fold-down divider, and a second stitch line 1/4 inch above this through the liner and outer fabric, to hold the divider seam allowance flat.
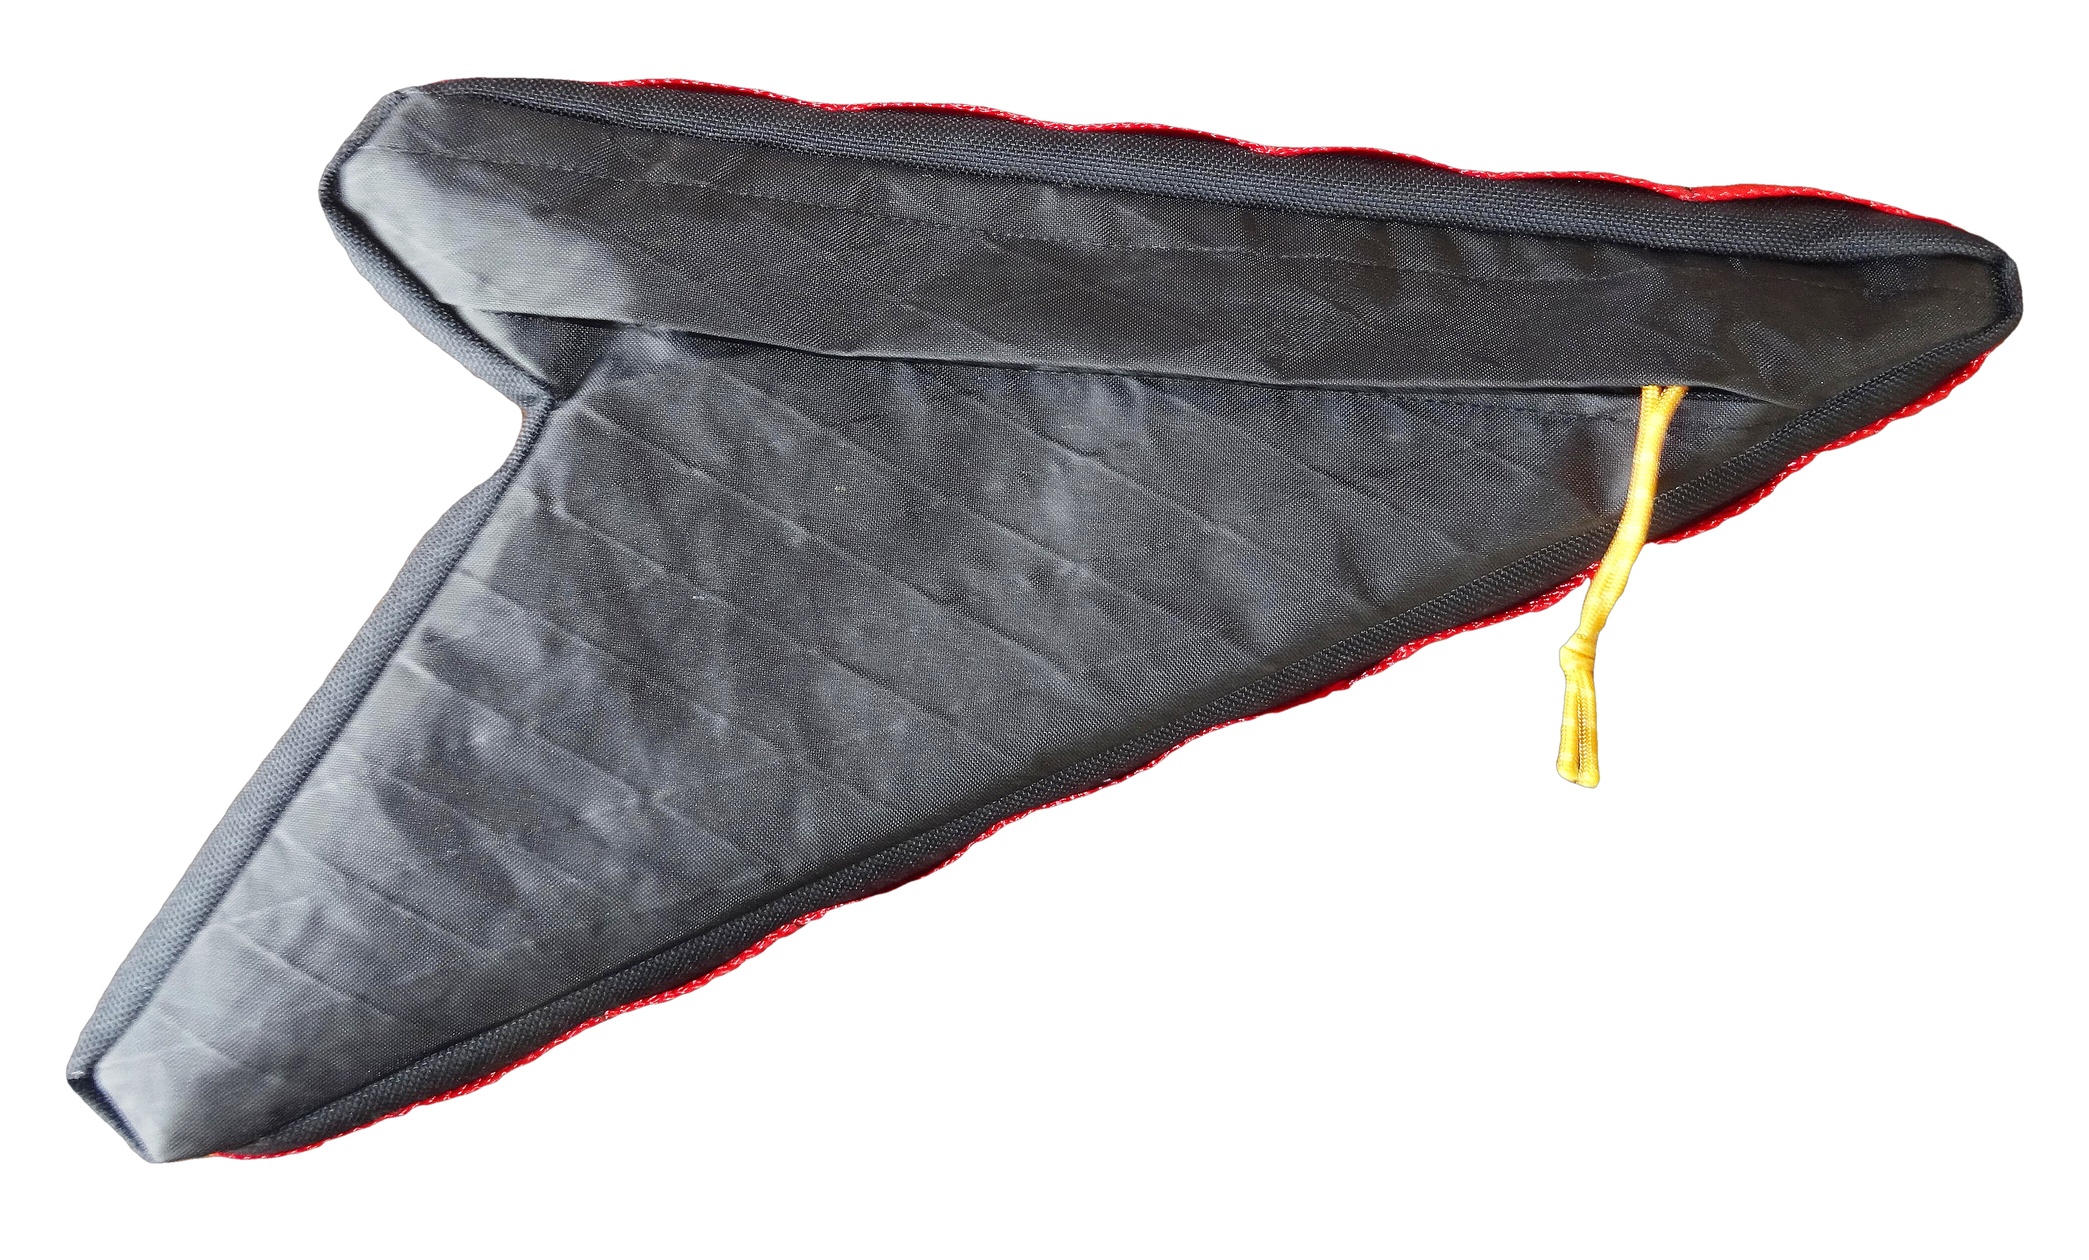
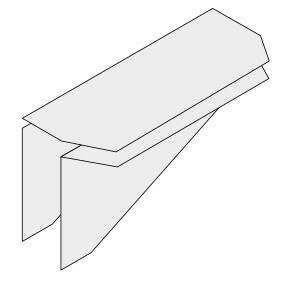
Roll-Top Bags
I’ve had a few questions regarding how I make my roll top frame bags. At some vague unspecified point in the future I’ll elaborate more on these, but this image will hopefully explain my approach to them.
One side panel is taller and folds over. The top panel is wider (could be two pieces if you want a stronger gusset piece and thinner, more supple rolltop). These two pieces are designed so the roll flap is about 5 inch long. There is a gusset around the sides and bottom (not shown).
The opening is tapered inwards so the entry is narrower than the main bag, which helps with water resistance and less bulk to rub on your knees.
I have also played around with ones where the roll flap was midway along the seam, so you just follow the instructions for the zipped bag above, and insert the roll top into the top seam. However, I disliked the aesthetics and faff of that, especially with binding the raw edges.
Download Details
Details about what's included in this pattern are coming soon.
See What Others Have Made!
Explore More Patterns & Guides
Expand your skills with our other popular sewing guides.
40 Litre Framed Ultralight Backpack Sewing Guide
View Pattern